How to Properly Clone a Windows 7 System Partition with Clonezilla
After reading an article about hard disk cloning with Clonezilla on Lifehacker, I decided to take care of my laptop’s dire need of free space by buying a new, larger internal hard disk – instead of buying an external one – to replace its current one. I figure I can shave about IDR 150,000 in the process while learning one or two tricks on hard disk cloning – an area I’ve never touch in my entire life before.
Little that I know that the experience was anything but smooth. The fact that the article described a different condition with the one I was facing hit me hard. You see, I’m trying to replace a smaller (160 GB) hard disk with two partitions (system and data) with a larger (500 GB) hard disk (which I was intending to be partitioned into two as well). Apparently this complicates matters quite a bit. So, in case you have the same predicament as mine, I’ve documented the right way to do it below.
Before we get started, here are the things you’ll need and should prepare beforehand.
- A zipped copy of Clonezilla.
- A USB flash disk with enough space to house the Clonezilla – 128 MB ought to do it.
- Windows 7 original installation DVD.
- A SATA-to-USB external hard disk enclosure.
- Small screwdriver.
- Patience. A lot of it.
After that, here is the right step to move your Windows 7 partitions from a smaller hard disk into a larger one.
- Prepare your Clonezilla-on-a-stick. Follow the instructions carefully.
- Using the SATA-to-USB external hard disk enclosure, create a primary (system) partition on your new, larger hard disk. Follow the instructions here.
- Format the new primary (system) partition with NTFS. Leave the second partition unallocated.
- Switch your larger hard disk with the one installed on your laptop. Come on, use your elbow grease once in a while, people! Put the larger disk in the laptop and the smaller one on the SATA-to-USB interface.
- If the SATA-to-USB is still plugged-in, unplug it.
- Plug the Clonezilla-on-a-stick and boot from that location.
-

Image by Clonezilla.org
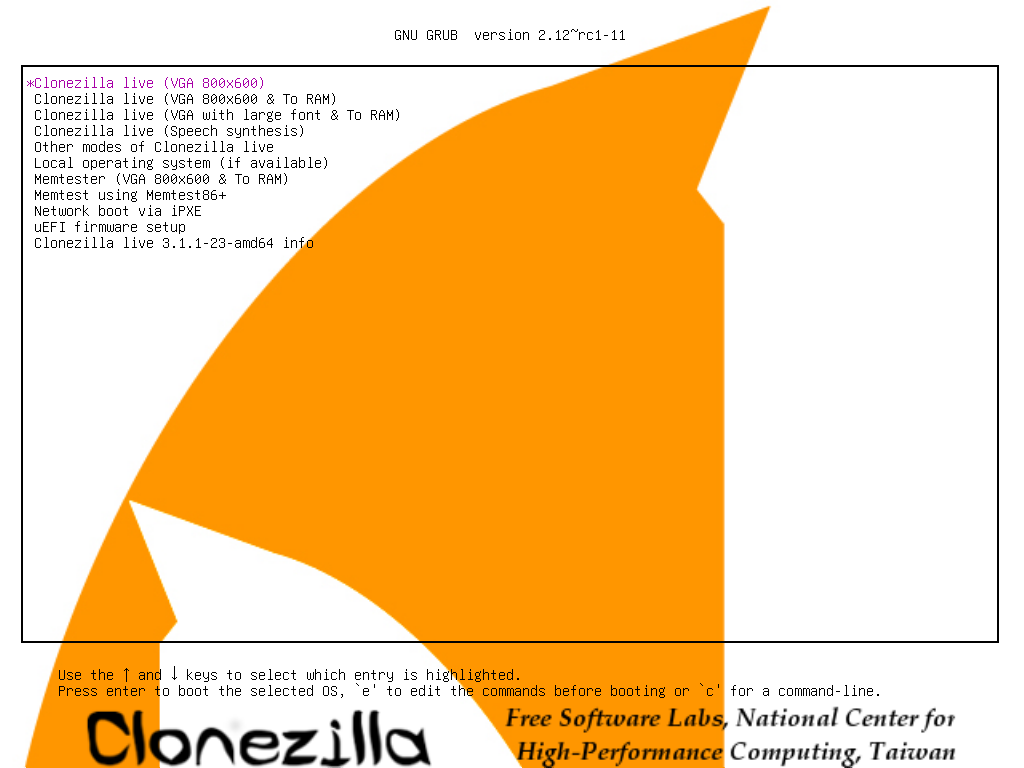
From the boot menu, choose
Clonezilla live (Default settings, VGA 1024x768). -

Image by Clonezilla.org
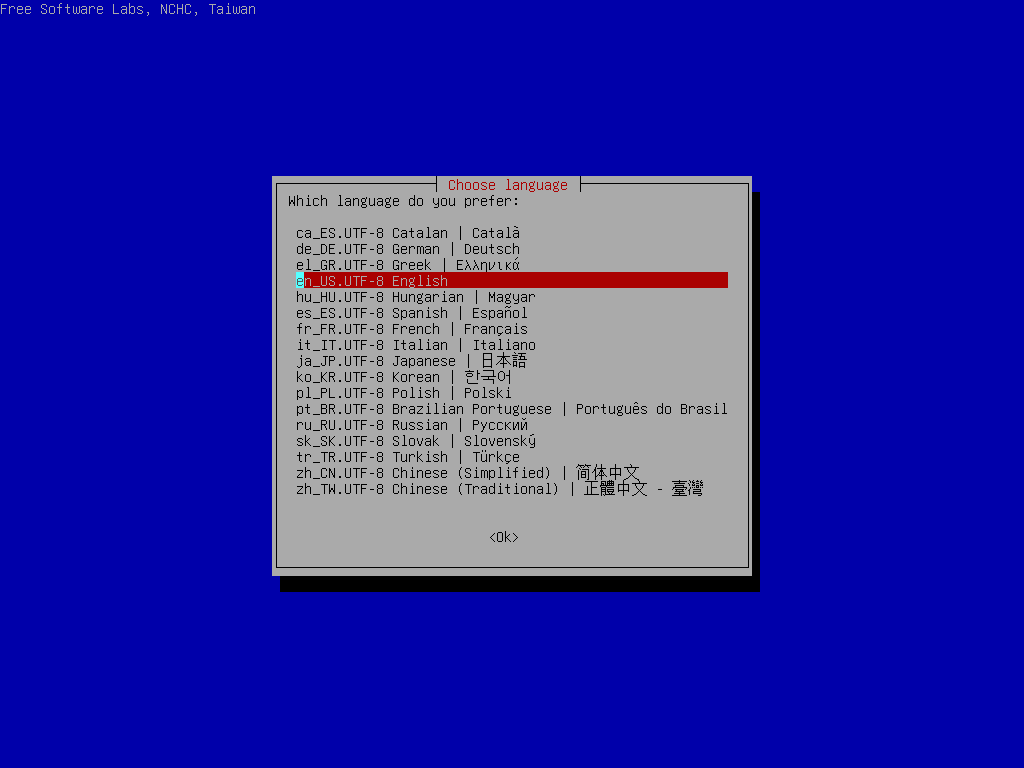
Just press the
Enterkey when prompted for default language. -

Image by Clonezilla.org
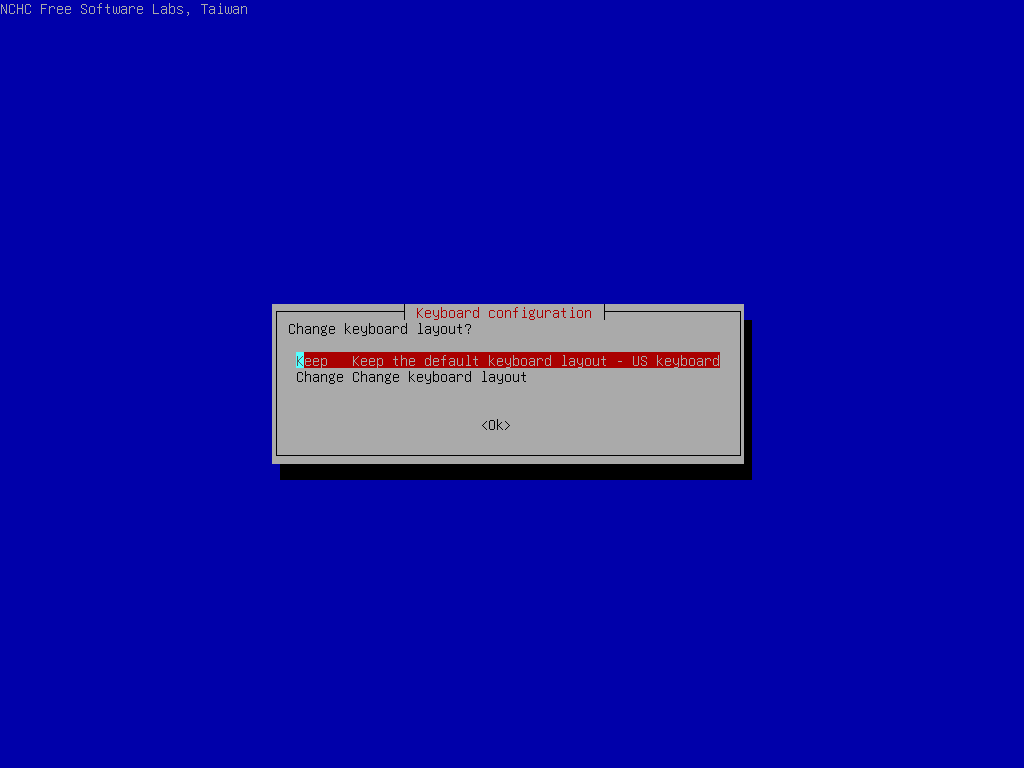
Press the Enter key again when prompted for keyboard layout.
-

Image by Clonezilla.org
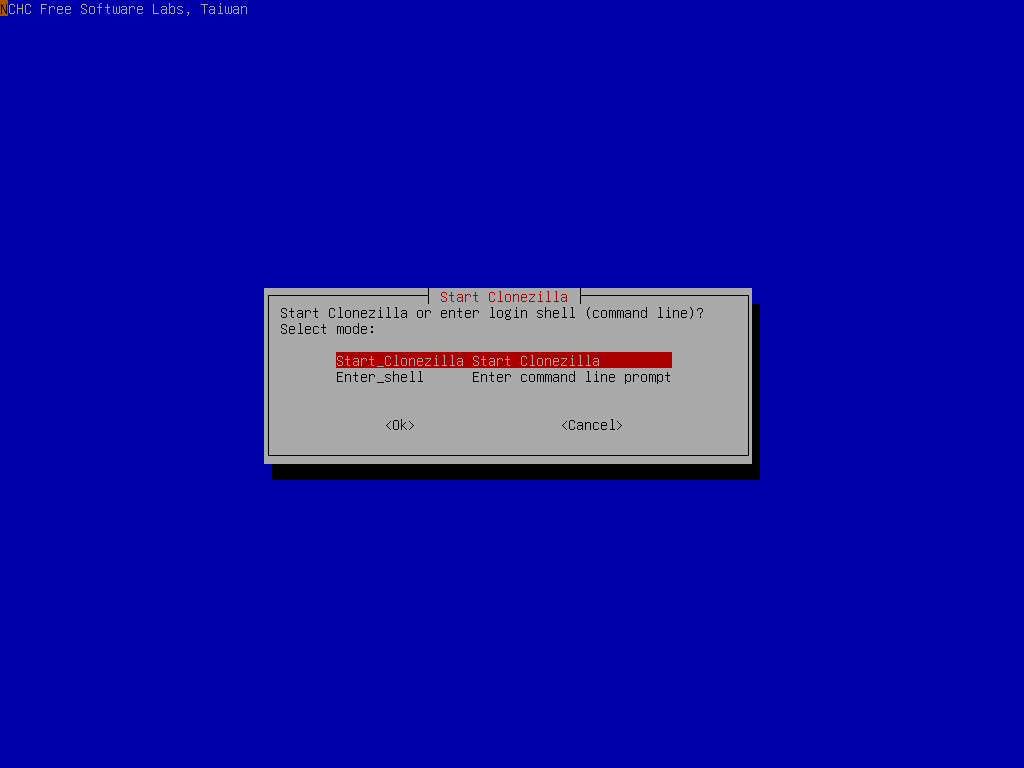
Choose
Start_Clonezilla. -
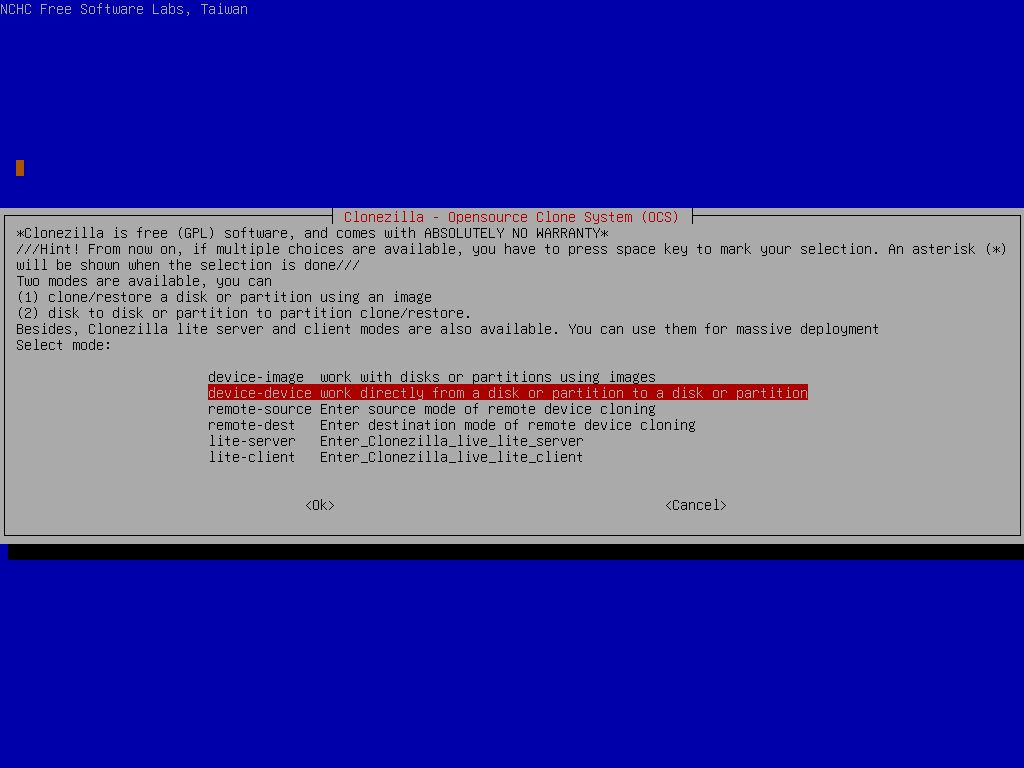
Image by Clonezilla.org
When prompted, choose
device-deviceoperation. -

Image by Clonezilla.org
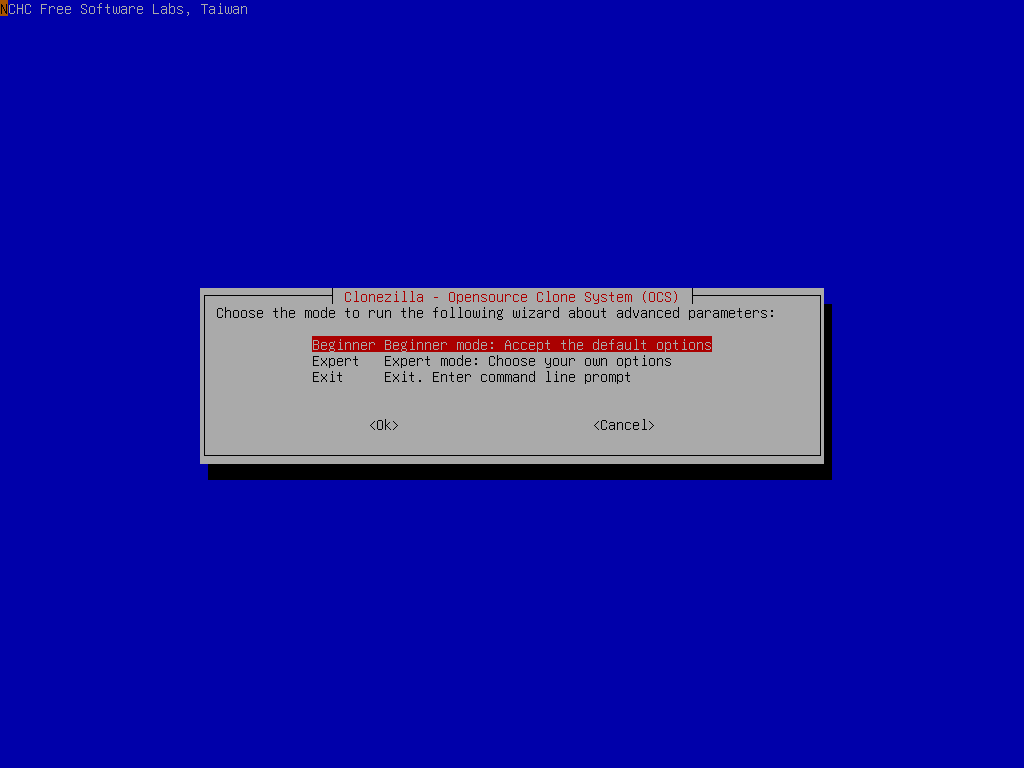
Next, choose
Expertmode.
- You can plug the SATA-to-USB back in. Clonezilla will automatically detect the old drive.
-
.
At this prompt, select the
part_to_local_partoption. - Choose the source and target disk carefully.
-

.
Make some changes to the default extra options to Clonezilla expert mode.
-

.
Make some changes regarding the partition table to use the
-k1option. -

Image by Clonezilla.org
After a while (depending on the size of your disk) the cloning process will be done.
- Turn your machine off and unplug the Clonezilla-on-a-stick and SATA-to-USB interface.
- Insert your Windows 7 original installation DVD to your DVD-ROM drive and boot from the DVD.
- Run the Windows 7 System Recovery Options. Follow the instructions here.
- Run the Startup Repair options of the Windows 7 System Recovery Options. Before doing this, you have to make sure that the partition is marked as “active” [Thanks to Jesse van Oort]. Afterward, follow the instructions here.
- Reboot. You should be having your old Windows 7 installation running normally on the larger hard disk by now.
- Create your second partition and format it now.
- Connect your old hard disk through the SATA to USB interface and copy your old second partition’s files to your new one.


That’s it. If you do the steps carefully, all will be well. Hopefully.


This I gonna try…thanx for the article…
Ralph - Saturday, 26 June 2010 at 20:43 |
@ Ralph:
You’re welcome.
gardine - Saturday, 26 June 2010 at 21:34 |
Hi Ralph, thanks for the info.
One thing though: before step 22 you should have made your new partition ‘active’, otherwise the Windows Repairtool will have a problem.
Regards,
Jesse
Jesse van Oort - Saturday, 25 September 2010 at 04:42 |
@ Jesse van Oort:
Actually, I’m not Ralph. But, your comment is duly noted. Thanks for the correction.
gardine - Saturday, 2 October 2010 at 21:31 |
praveen - Thursday, 20 December 2012 at 21:05 |
I used Clonezilla to clone a Windows 7 partition, and it worked well.
I didn’t have to do steps 21 or 22.
The drive had the 100MB Windows 7 partition, a boot partition, and a 2nd partition. Clonezilla took care of it all. Then, I could go into Windows and expand the 2nd partition to fill the disk.
Mike - Wednesday, 17 November 2010 at 11:29 |
@ Mike:
Nice to know. Perhaps we took different steps at the beginning or something. Because I was pretty sure about is as I was definitely sweating about not being able to see my original partition. :)
gardine - Wednesday, 17 November 2010 at 22:48 |
it sounds like Mike cloned ‘a disk’ not ‘a partition’. i’m not sure but i think i did that without problem (steps 21-22) about a year ago as well. keep in mind that clonezilla will only clone a disk to a bigger disk.
adam - Sunday, 9 December 2012 at 00:32 |
Going to try….Thanks
franzo - Wednesday, 15 June 2011 at 13:54 |
@ franzo:
You’re welcome.
gardine - Sunday, 19 June 2011 at 19:57 |
Didn’t work for me after several attempts. What I’m left with is a 200MB RAW partition (where the bootloader should be), and a 111GB RAW partition where the data should’ve been. Over and over.
I’m so sick of clonezilla… I’ve got it to work *once*. And now, again, after 2.5 hours of repeating the same steps over and over, I could’ve just reinstalled Windows and the few apps I had installed on my SSD in *much* less time.
John - Wednesday, 13 July 2011 at 03:30 |
@ John:
So sorry to hear that. Since I just have a single experience with Clonezilla, I don’t know what else to say.
gardine - Wednesday, 13 July 2011 at 22:32 |
[…] […]
[CRASH] W7 no longer boots after restored from Clonezilla image - Wednesday, 31 August 2011 at 04:26 |
clonezilla is good backup software.
recently i found easeus todo backup free version is also good freeware, easy to use and reliable. it can clone or backup and restore hard drive.
if anybody need it: http://www.todo-backup.com/business/free-backup.htm
Bailifei - Thursday, 15 September 2011 at 14:08 |
@ Bailifei:
Thanks for the tips. I’ve heard of the software but haven’t really tried it for a spin.
gardine - Thursday, 15 September 2011 at 14:31 |
hey gardine,
many, many thanks. i spent a ridiculous amount of time trying to clone to a bootable win7 disk with clonezilla until i finally found your instructions, which worked perfectly. much appreciation…!
Pelias - Friday, 28 October 2011 at 07:00 |
@ Pelias:
The pleasure is mine. Glad I could help.
gardine - Friday, 28 October 2011 at 07:11 |
Useful article. However a small improvement: instead of relying on the images include details of the specific parameter changes being advised in the text. Specifically in the critical step 16 where you say “Make some changes to the default extra options to Clonezilla expert mode.”. In fact because getting these parameters is so important I would recommend including a copy of your final Clonezilla command line used to make the clone.
Roland - Friday, 11 November 2011 at 22:48 |
If your target disk is larger than the source disk and you wish to end up with just 1 partition: Use Conezilla, go to expert mode, un-select ‘-g auto’ (You won’t need grub!) ; The other default options are fine, you don’t need the -r option nor the -k1 on the following page ; when done copying, boot Windows normally from the new larger disk; skip consistency checks if it asks ; open a command line (cmd) and run: bcdboot c:\windows /s c: (This assumes c: is your partition with Windows) ; Open the Windows ‘Disk Management’ utility and right-click your main Windows partition (mounted as C: in this case) and select to ‘mark it as active’ ; reboot ; go back to the Disk Manager and right-click > Delete the little ~200mb or so ‘BDEdrive partition’ ; Now your C: volume is contiguous of the unused space, so you can now right-click your partition and select ‘expand.’
Many people don’t understand that the -r and -k1 options do not automatically fill the new free space in to a single partition for you. Many are confused why they cannot expand it after, and this is because it must be contiguous with the unallocated space, and normally it won’t be due to the BDE drive, which isn’t needed if you copy the system files to C and make it active, now it will be the actual system partition.
The -k1 option can in fact make things useless as you can end up with a partition that thinks it is the full new size, yet a logical volume that is stuck thinking it is the old size, and there will be no new unallocated space. The space becomes totally ‘lost.’ (You’ll find disk manager will both acknowledge the disk being its full size, AND have a partition volume that -thinks- it is the full size, yet the logical and useable space will never be greater than what the source disk had been.)
Hope this helps.
Fox W. - Wednesday, 25 April 2012 at 06:21 |
@Fox W.
Nice one. I might have experienced tunnel vision when doing my cloning back then. Thanks for the info.
gardine - Monday, 7 May 2012 at 14:50 |
This worked for me but had a few problems getting the cloned disk to boot. I had to follow these instructions http://sourceforge.net/projects/clonezilla/forums/forum/799287/topic/4727701 then also had to let it do a diskcheck on startup. But it worked finally!
Thanks
C
leopoldthefrog - Monday, 21 May 2012 at 20:16 |
@leopoldthefrog:
Glad everything worked out for you. Thanks for the additional information.
gardine - Monday, 21 May 2012 at 20:24 |
how to use clonezilla to restore
Victor Sotto - Friday, 6 July 2012 at 10:51 |
@Victor Sotto:
For that, I’m afraid you have to look somewhere else. The above post is the only experience I’ve got with Clonezilla.
gardine - Friday, 27 July 2012 at 20:52 |
[…] que me han ayudado: http://geekyprojects.com/storage/how-to-clone-hard-drive-to-smaller-drive/ https://arga.wordpress.com/2010/04/24/how-to-properly-clone-a-windows-7-system-partition-with-clonezi… Comentario de sminlal 11-12-2010 at 04:47:22 AM […]
Ampliación de memória » Recuperación/migración HDD con sectores dañados. - Wednesday, 7 November 2012 at 21:50 |
Thank you for the information!
If you work in a big company with 100 computers this procedure hes too many steps! With Acronis it is more easy. Backup the HDD and recover on other HDD without error message. With Clonezilla if you backup and recover whitout using Windows DVD and going through all these steps you will get error message because MBR is recovered wrong.
Remus - Thursday, 22 November 2012 at 23:55 |
it was very helpful ,
but i want to copy one partition which is having windows 2003 server .
can i do the same process for that also ?
praveen - Thursday, 20 December 2012 at 20:56 |
@ praveen:
I haven’t really tried it with Win2K3. However, I’m quite confident that the whole process will be quite similar.
gardine - Thursday, 27 December 2012 at 17:56 |
if you’re not booting after trying this process, make sure the windows partition is marked active with diskpart or another tool. Bootrec /fixboot is what got the OS booting again for me.
Randomly - Wednesday, 30 January 2013 at 06:06 |
[…] apparantly a similar question has been asked before. The link to the first article in the answer is not relevant to me since it covers a direct device-to-device […]
Take A Regular Windows 7 Clone With Clonezilla (device-to-image) Partition Only | Click & Find Answer ! - Monday, 22 April 2013 at 04:22 |
Hi
Many Thanks for Instructions
To Make a Partition active just Run FDISK from Windows 7 DVD.
Its for me the Best Comandline Tool ever!
pctech - Tuesday, 19 November 2013 at 01:03 |
[…] https://arga.wordpress.com/2010/04/24/how-to-properly-clone-a-windows-7-system-partition-with-clonezi… […]
Cloning a failing operating system hard drive - The DIY Girl - Friday, 21 March 2014 at 05:42 |
Hello, I’m curious about Clonezilla and NTFS. If I have a 750G Win7 disk, which is only about 20% full, shouldn’t the backup files contained in the Clonezilla directory add up to about 150G?
I’ve been experimenting with this for a while, and I can never get Linux (even using DD piped through gzip) to ever compress the NTFS image. I’ve gone through the process of filling all the empty space with ‘zeros’ by creating a 10G file in linux using dd (dd if=/dev/zero of=/tmp/10g.zeros bs=1G count=10 ), and copying that over to the Win7, making copies and more copies of it, until all the free space is full. I then delete all the 10g.zeros files. This should make all the empty space continous/redundant, and great for compressing.
But even after doing this, my resulting files with Clonezilla are still adding up to the full 750G. Even the gzipp’d DD file I’ve created outside of Clonezilla (manually) is 750G.
I’ve done this in Linux many times, creating DD.gz images from 1T drives as small as 6G.
Is there something about NTFS which prevents this from working properly?
I ran Clonezilla last night against a Win7 NTFS system, and am inspecting the files it created on my USB drive from a Linux system. A ‘du -k’ tells me the total of the files adds up to 733G.
When I boot my Win7 box to inspect the disk usage, and it says:
“608GB free of 698GB”. (Windows rounding I guess, but close enough)
Any ideas?
Thanks!
Joseph Spenner - Tuesday, 1 July 2014 at 22:10 |
@Joseph Spenner:
Nope. Can’t help you there. Sorry.
gardine - Thursday, 9 April 2015 at 07:20 |